Tuesday, June 22, 2010

Summertime and the Baking is Easy.

To celebrate the first day of summer and my sister-in-law coming over for dinner, I made a berry crisp. My original plan for dessert didn't actually include a crisp...


But after finding fruit like this, how could I not make one. I love summer because you find wonderful fruit at a great price. It makes eating well so easy. I don't really have a recipe for a berry crisp, and I was a little too lazy to look for one, so I just adapted an apple crisp recipe. So below is the recipe I made, which did produce a yummy treat, but I will admit it was a little juicy.


Berry Crisp


4 cups berries, washed and cut (if needed)


3 tablespoons brown sugar


1/2 teaspoon cinnamon


2 tablespoons lemon juice (optional)


Simply toss the fruit with all the other ingredients and spread into a butter pie or casserole dish.


Now for the crumb topping...


Oatmeal Nut Topping


1/3 c brown sugar

1/3 c sugar

5 tablespoon flour

1/2 c instant oatmeal

1/4 c chopped nuts (in this case I used some sugared pecans that I happen to have)

1 teaspoon cinnamon

1/3 c butter, softened and cut into pieces


Crumble all the ingredients together by hand. Spread evenly over fruit. Bake at 350 for 30 minutes or until crumb topping is golden brown.


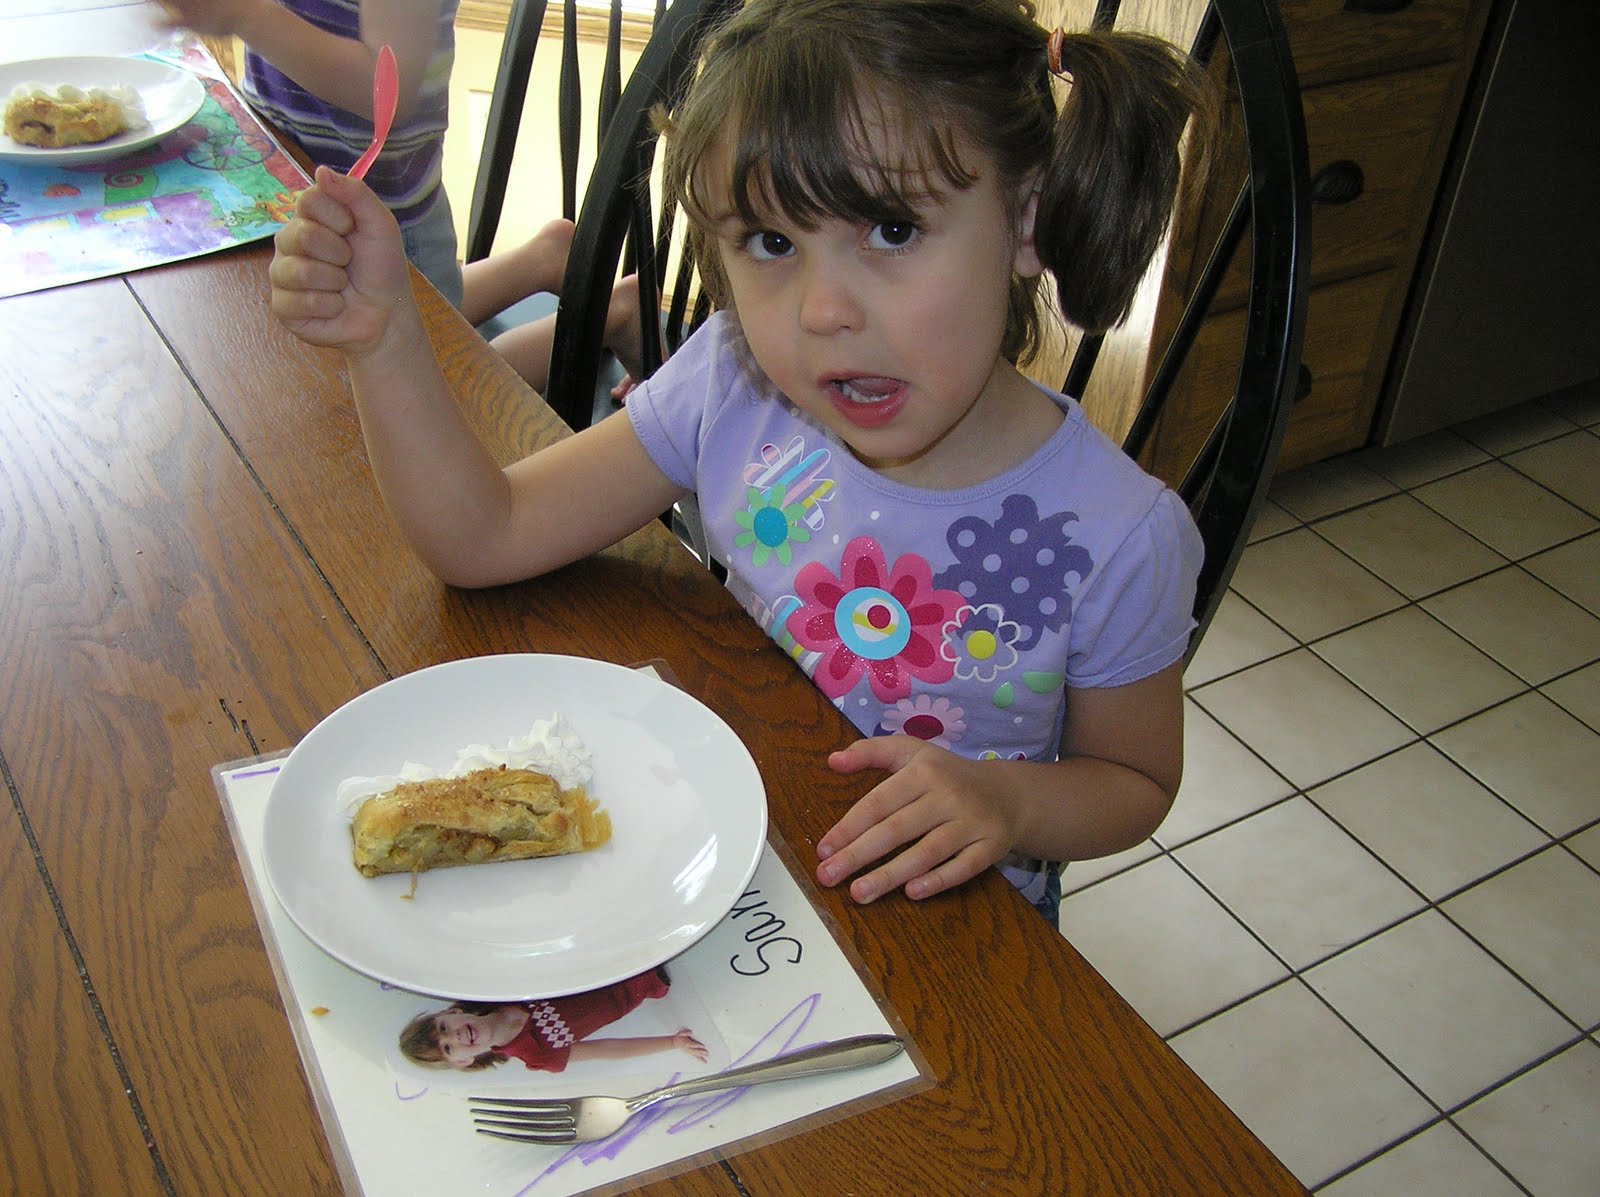
Let cool. Serve with whipped cream, ice cream or all by it's self. Enjoy!

Tuesday, June 15, 2010

Momma...We're Hungry!

I hear this said to me quite often, but this time it was presented like this...


Two adorable little girl asking for some Applely Zappoly. What is Applely Zappoly you might ask? Well, I didn't know at first either, but what is became was a very tasty treat.


Along with the chopped apples, we used...

I was very happy to have the puff pastry in the freezer. I have to admit I don't always have it, but I find it makes the most wonderful things when I do.

We used the cinnamon blend and some sugar and tossed them with our Granny Smith apples.
Both my two helpers did their best at making sure all the apples got coated in the cinnamon sugar.

Then I made a braid with our puff pastry. May not look pretty right now, but the finished product sure was good.
We then brushed the braid with melted butter so the sweet apple sprinkles would stay on top.
Each girl got equal time to make sure the braid was just right.


Topped with the sweet apple sprinkles, our Applely Zappoly was ready for the oven.


We couldn't wait for me to take a picture of our creation, so here what was left after our pieces were plated.

Add a little whipped cream and we had our yummy afternoon snack...

Nice warm Applely Zappoly.

Tuesday, June 8, 2010

Milk and Cookies

On Monday, my sweet little boy turned two. Oh, how the time has flown by. I look at his pictures and see my little baby turning into a little man. For his birthday, we had a milk and cookies theme. Cookie is one of the few words he chooses to say right now. Cookie is also his universal word for anything yummy. I had seen a very cute milk and cookie party on the blog Half Baked, so I took my cues from there. I made a chocolate cake with chocolate frosting and 3 kinds of cookies for our shindig.


Here is Riley's birthday dessert table. My friend Cecilia loaned me her little milk bottle creamer that went perfectly with my theme. I thought it was fun that not only did the 2 on the side of the milk bottle on the cake represent Riley turning 2, but the could also stand for 2% milk.

Here's a close up of the birthday boy's cake. The cookies, milk bottle and letters were all made with marshmallow fondant.


My signs were a last minute addition that I turned out to love. Chocolate chip cookies are always a favorite around here and a must have.


Just so I wouldn't have all chocolate (although I don't believe that is a bad thing), I made a batch of Snickerdoodles.

I think I have talked about these peanut butter cookies before. They are the easiest cookies to make. I love them. The only have 3 ingredients...that's right 3! And you can do so much with them. Here I made simple thumb print cookies with some grape jelly. I noticed I haven't posted any recipes lately, so I will post this one (since it is so easy)
Peanut Butter Cookies
1 cup sugar
1 cup peanut butter
1 egg
Mix all ingredients together until incorporated. Scoop out cookies onto a baking sheet and bake for 10-12 minutes at 350.
(see I told you they were easy)
As favors, I found a milk carton template online, put them together and then filled them with some mini chocolate chip cookies. These were not the easiest thing to put together, but I really thought they came out so cute.

Here's my birthday boy Riley ready to enjoy his cake!

Wednesday, June 2, 2010

Sixty Times Three Equals...

A cake for three people turning 60. Yep, that's what I have for you today. My friend Gina asked me to make a cake for her Dad's (and other relatives) birthday party. Everyone was turning 60 this year. Gina said that they were making shirts with silver angel wings for the birthday people, and wondered if I could make those wings for the cake. Always up for a challenge, I said sure. The colors being used for the party were black, white and silver, so I made a white cake (actually the cake was marble, the buttercream was white) with silver wings and a black 60. Gina also asked for some cake pops to accompany the cake.

Starting with my blank canvas (so to speak). This is marble cake covered in vanilla buttercream.


To make the wings, I printed out a picture Gina sent to me of the wings they were using. I used the print out to cut out the wings. Then I brushed them with metallic silver dust.


Mixing the metallic silver dust with some vodka allowed me to make a paste to create the details of the wings.


After placing the wings on the cake, I positioned the 60 in the center of the wings.


Using more fondant and metallic silver dust I cut out letters to wish everyone a happy birthday.
(and yes while I didn't see my error then, I clearly see it now...do you?)


The finished cake with the cake pops. I really liked how the wings came out. I think they looked very much like the picture I had to work from. And the report from Gina was everyone loved everything, and that's all that matters.

Tuesday, May 25, 2010

Cake Pop Takeover

That's right...a cake pop takeover here on the blog. I know as of late they have been taking over my kitchen. I have been making different styles, different flavors and even a different shape. I always have people ask me for the recipe for these guys, so here goes.

Step one- make your favorite cake. It can be from scratch or from a box, doesn't matter, just bake it off and let it cool.

Step two- crumble the cake in a big mixing bowl and then mix with your favorite frosting or icing. Once again can be homemade or can be out of a can (I've done both and they both taste great).

Step three- shape into balls, insert lollipop sticks, let set in refrigerator (or if you are in a hurry the freezer) and then dip into melted chocolate.

Step four- enjoy!

See, they are pretty easy and if you would like a more detail recipe, go to Bakerella.com. That's were I first saw cake pops. You will be amazed what she does with cake pops. She even has a book coming out this fall (have to pre-order mine today) She's great at giving step by step instructions with great pictures.

Below, I have pictures of the cake pops (well some of the cake pops) I have made over the past year. It's fun coming up with different ways to make a simple cake on a stick so yummy. Enjoy (I know I have)!

These are cupcake cake pops. Who knew this would be the start of it all.

Cake Pops for Taya and Tyla's birthday.


Sometimes (I will admit) I get a little overwhelmed with all the cake pops orders, so here's a little cake pop humor. ;)


Cake pops for my oldest's last day of preschool. The teachers were very happy to find out my middle child would be attending next year.(quote "yeah, cake pops next year too")

Cake pops for a house warming gift. I love the way the ones with the sugar pearls look, but you have to like you cake pops crunch to eat them.

I like how the dark and white play out here. I think it's a nice visual.

Cake pops I quickly made up last night. These are some of my experiments with flavor. The two on the ends have a lemon crunch sprinkle on them (a fun new goodie I got from Pampered Chef) and the middle one is a Almond Joy cake pop (almond cake with coconut in the center).

Tuesday, May 11, 2010

Tease Revealed

Remember this picture from last week?


Well, I'm here to show you the rest of it. As some of you guess, I was making something with a John Deere Theme. I know a tractor, which my nephew would love, was guess, but it was actually a John Deere Gator. Jodi, one of the Moms from my playgroup, asked if I could make a cake with a boy riding the gator for her son Alex's 4th birthday. She sent me a picture of Alex on his and armed with that and what I know about John Deere gators (which I must say is very little right now, I came up with the following cake.


Here is fondant Alex riding the fondant gator. The cake was covered in vanilla buttercream and I used buttercream to pipe the grass.


I covered the cake board with fondant and then added the fondant fence as a border. At the last minute, I added some fondant lady bugs, to add a little splash of color, but didn't get a new picture.


Along with the cake, I made some cupcakes for the party guest to enjoy. Happy Birthday Alex.

Tuesday, May 4, 2010

Tease

This will be a short post, but I wanted to make sure to have one today, being Tuesday and all. I have a cake coming this weekend that at first scared me. I think I have mentioned before how I get a picture of what I believe the cake should look like. There are times then that the actual cake doesn't match the image in my head, and then I'm not happy. Well this cake , or to be more precise, cake topper just wasn't popping into the old noggin on how to make it. Then finally it came to me (big sigh of relief). Since I wanted to make sure to do all I could for it, I started making the topper last weekend. And I'm thankful to report that it's done and now I have to make the cake and cupcakes to go with it. So stay tuned, next week you will get to see everything put together. In the meantime, here's a little sneak peak of what I've been working on.