Tuesday, March 15, 2011

A Question Answered (hopefully)

About a week and a half ago, an old friend from college sent me a message on facebook. She wanted to know how I make the Oreo cookie pops and could I please do a blog about how I did. So Michelle, this is for you.


The first step is to separate all the Oreos and line them up for the sticks.

Next, dip the lollipop sticks in some melted chocolate and gently stick into in the creme filling. The chocolate will act as a glue when you reassemble the cookie.


If the cookie is breaking when you put the stick in the center, try cutting out a little channel.

Then do the same step as above with the stick and melted chocolate.


After you let them set for a bit, (I usually wait at least half an hour) dip the Oreos in some melted chocolate and place in a piece of styrofoam to dry.

The last step is to decorate how ever you please and then enjoy.
I hope this helps Michelle. ;)

Tuesday, March 8, 2011

Get Your Fat On!

It's that time of the year...Fat Tuesday. The past couple of year, I have had some friends over for a Fat Tuesday Dessert Fest and this year was no exception. I like to make bite size goodies so you don't feel like your eating so much, even though you are.

So for this year's enjoyment here is the spread of yum.

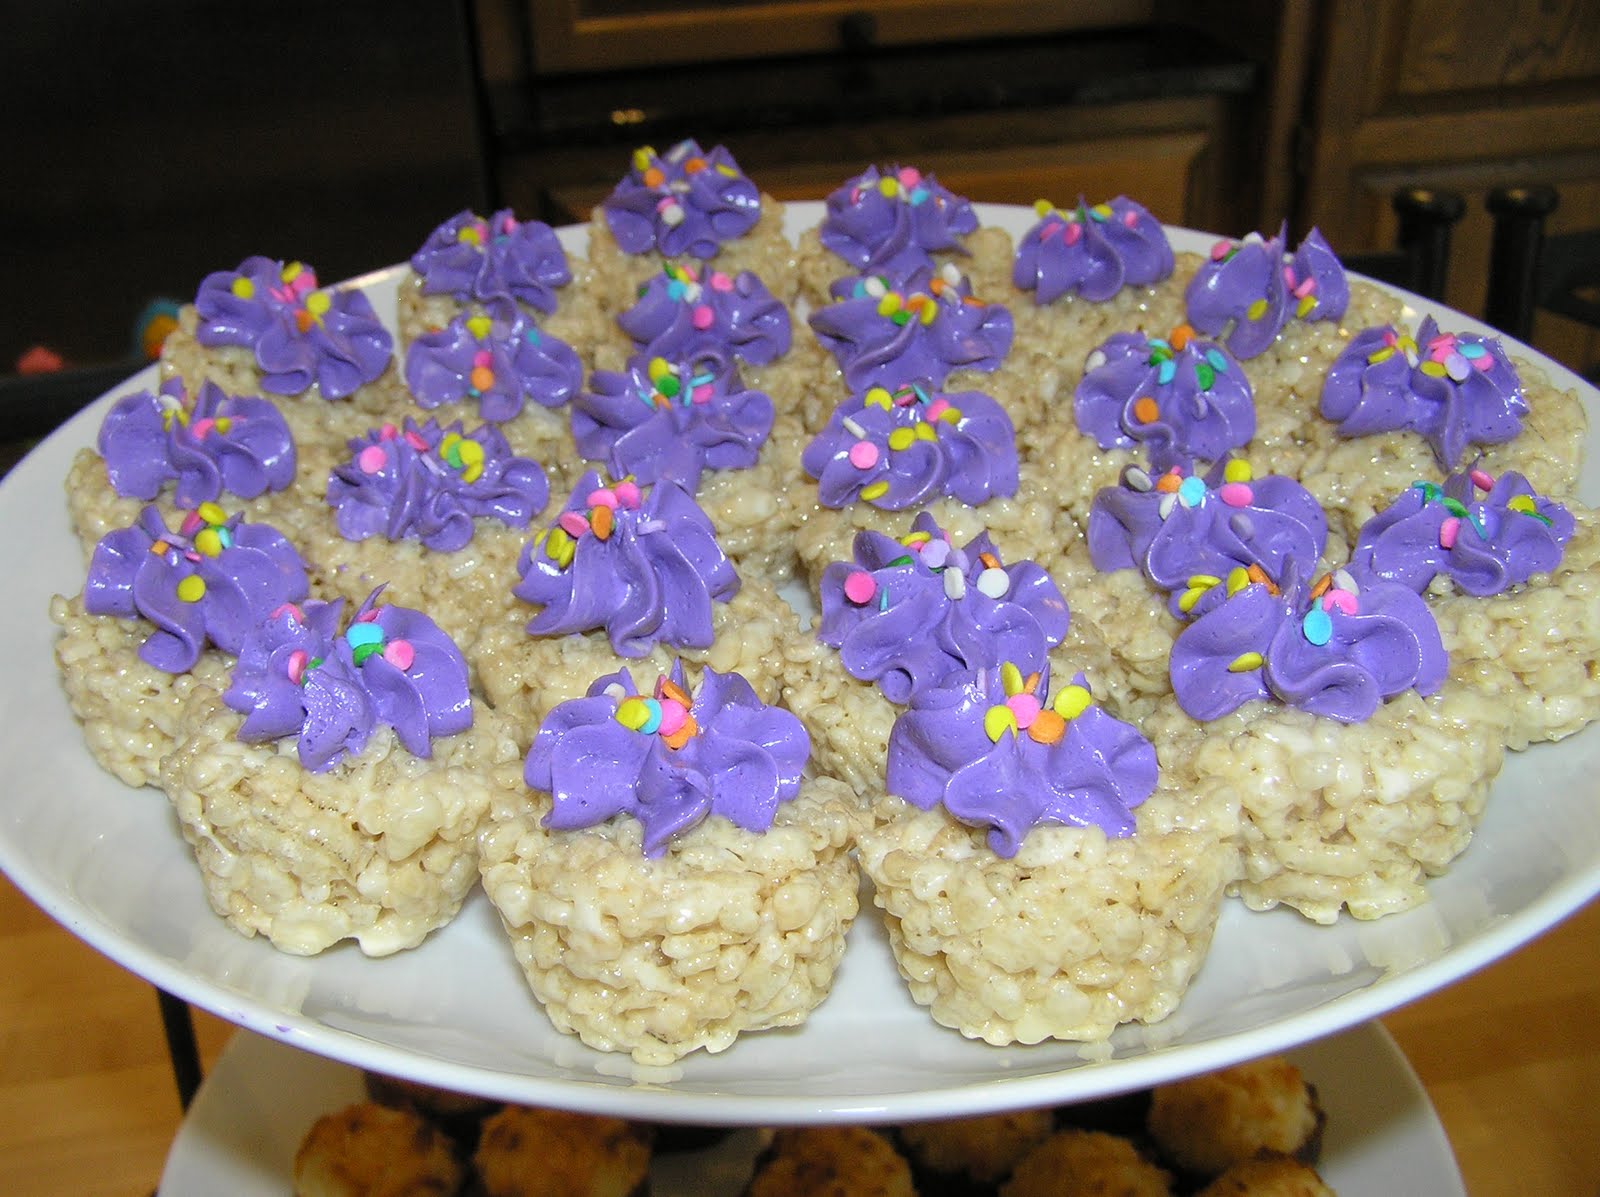
I formed the rice krispie treats by putting them in my mini muffin tin.

These are some of my favorites to eat and probably one of my least favorite to make. I have been making chocolate dipped coconut macaroons for years now and they are still as good as the first time I had them.

I brushed the outside of these chocolate dipped mint oreos with some edible gold and metallic green dust just to help incorparate the colors of Mardi Gras.

Since I always have to have some kind of cake pop, I opted to make the "chocolate covered strawberries".

Since I knew I had a lot (and I do mean a lot) of chocolate items, I made some peanut butter and jelly cookies, aka thumbprint cookies.

You can never go wrong with brownies.

Thursday, March 3, 2011

Oh My Ganache

I had planned to post on Tuesday, I really did. But life as I know it went from crazy to extra crazy this week. So here is my post on the chocolate truffles I made for the Death by Chocolate event we went to at my friend's house.

Truffles are super easy and taste oh so yummy! A truffle filling is made from ganache, and while ganache sounds all fancy and hard to make, it is one of the simplest most versatile things. Three ingredients to make the truffle base is all you will need really. This recipe I am going to share is from Better Homes and Gardens. I happen to stumble across it online and luckily, had what I needed to make the truffles.

Chocolate Truffle Base

10 oz. semisweet chocolate, chopped (you can use chocolate chips and make it easy on yourself)
1/2 cup whipping cream
1/4 cup butter, cut up

In a medium microwave-safe bowl combine semisweet chocolate, whipping cream, and butter. Microcook, uncovered, on high for 1 minute. Remove from microwave and stir until smooth. If necessary, return chocolate mixture to microwave and cook on high for 30 seconds more; stir until smooth.

Now I call this a truffle based, because I added some flavors. I divided the ganache into three bowl and had a little fun.
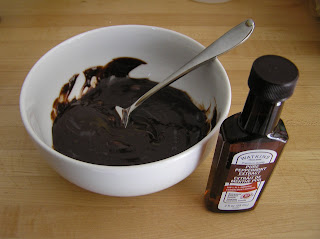
First I started with some Peppermint extract. I have to admit, I didn't measure how much I used. I just splashed a little in, stirred and gave it a taste.

I did the same thing with the raspberry extract.
For the coconut truffles, I used coconut extract and also added a little shredded coconut to the ganache.

Once you have you flavors mixed in, cover the bowls and refrigerate for 1-1/2 hours. Line a baking sheets with nonstick foil or lightly greased foil or waxed paper. Drop chocolate mixture from rounded teaspoons (or use a small cookie scoop) onto the prepared sheet. Cover with waxed paper; freeze for 10 minutes. Roll the scooped ganache to form a ball. After that you are ready for the coating. I used cocoa for the raspberry, pink tinted coconut for the coconut and powdered sugar for the mint.
The finished delish project.

Tuesday, February 22, 2011

I Died on Sunday

Last year for Valentine's Day, my husband, myself and some friends of ours went to Appleton for a Death By Chocolate tour of restaurants and bars. We had fun, enjoying some yummy treats and some oh not so yummy (really gross) treats. Since Valentine's Day was on Monday this year, and since one of the couples was going to be away, we didn't make it this year. So to make up for missing it, the couple who was out of town, had us all over for our own Death By Chocolate (minus the gross treats).

A week or two ago, I saw a blog about "chocolate covered strawberries". These strawberries were actually red velvet cake bites shaped like strawberries and the dipped in chocolate. After seeing them I knew I had to make some for the event.

Instead of red velvet cake, I made a strawberry cake. I have yet to have success with a red velvet recipe, and I didn't feel this was the time to try. So after I shaped the "strawberries", I dipped the tops into red candy melts.
Then I dipped the bottom half into chocolate and drizzled a little chocolate over them to pretty them up.
For the green tops, I made up a batch of marshmallow fondant. I used a flower cutter to get the shape and then pinched each petal to give it more of a leaf look. Now I did dry the tops for a while, which I later regretted since I had trouble attaching them to the strawberries. I think if I had turned this drying tray over and had used the rounder cups, it would have worked better for me.
I attached the green tops with a little water and my berries were ready to be displayed.

I also made Chocolate Chocolate Chip Cookies, Peanut Butter Mallow Bars (not pictured) and three kinds of truffles, which I'll talk about next week.
Let me tell you, we all made pigs of ourselves and enjoyed all the chocolate that everyone had brought to share that day. Even the foot of snow that was falling outside couldn't stop us from enjoying the night. Thank you again to our friends Aimee and Steve for having us all over!

Tuesday, February 15, 2011

Somewhere Over the Rainbow

Just a quick post from me today. Last week I had an order from my friend Sharon for some vanilla cake pops for her daughter Lizzie's 5th birthday. Lizzie's birthday falls on Febuary 13th and Sharon wanted something that wouldn't look valentineish. Since Lizzie is such a bright young girl, (and I remembered how much I liked rainbows as a child), I suggested using the colors of the rainbow. Sharon loved that idea and away I went.
I loved the finished look of the cake pops. They were so bright and would looked great displayed on a dessert table. Both Sharon and Lizzie loved the cake pops, and I promise Sharon I will not sell them to you every week even if you beg me to. ;)

Thursday, February 10, 2011

Go Pack Go

I live in Green Bay, Wisconsin. The happiest place on Earth right now. Everyone here is in heaven over the Packers' Super Bowl win! On what turned out to be the best day in the month of February (so far), we held our annual Super Bowl Party. I made some Packer themed treats for everyone to enjoy as they enjoyed watching the game. And I think the two Steeler fans who were here enjoyed the treats too.


First, I made some rice krispes pops dipped in chocolate. I have seen these on many different blogs and thought it would be fun to have all the desserts on a stick.
I was so, so happy when I found football shaped Oreos. They were perfect for the game. I got the sprinkles for the cake pops at my favorite local cake supply store. Nothing say Go Packers like green and yellow and football sprinkles.
My idea of having all the desserts on a stick ended when I decided that I didn't have enough desserts for the party. So the day of (about 1 1/2 hour before guest were arriving), I quickly made up these mini brownie cupcakes with a dollop of chocolate frosting. And of course some Packer sprinkles.

Tuesday, February 1, 2011

Let it Snow, Let it Snow, Let it Snow

Since we here in Wisconsin, are having yet another snow storm and my friends and family out East are getting slammed by yet another snow storm, I thought today's post was appropriate. A couple weeks ago, after a snow fall, the kids and I made some snow ice cream. I had never heard of snow ice cream until last year. And I had never attempted snow ice cream until now. It was pretty easy and pretty tasty.


Start with 6-8 cups of newly fallen snow, 8 ounces whipping cream, 1/2 cup sugar and 1 teaspoon vanilla extract.
Mix the cream, sugar and vanilla together until the sugar dissolves.
Pour the cream mixture over the snow and stir with a spoon until creamy. Add more snow if needed to get the right texture and it resembles ice cream.
Serve immediately. We made ours into sundaes with some chocolate sauce and sprinkles.
I should have added some more snow to my ice cream. It melted pretty fast, but the kids really didn't seem to mind one bit.